Hello guys,
I am blogging after a really long time, excuse me from my absence!
Anyhoo, Today's post is a DIY one.
If you follow my facebook page you would know about my thrift shopping experience.
I thrifted a few clothing items sometime back, and few of them turned out to be pretty cool but "TORN". And I realized this only after its first wash.
Initially they were lying in my closet untouched, unnoticed, but the peter pan collar was kind of giving me the Adele look and how a girl like me can throw away the peter pan trend yet?
Hence a DIY, was necessary. The procedure is pretty self explanatory but still -
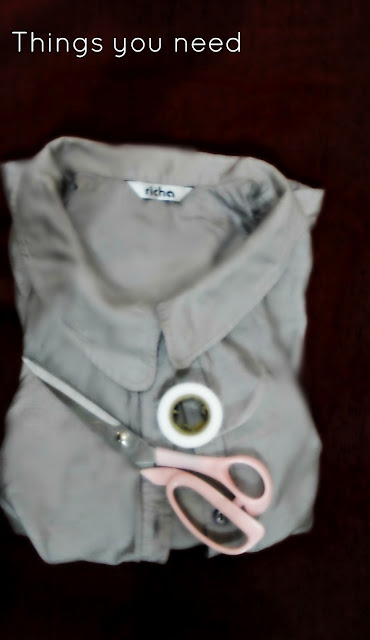
Things You will need :-
1.) A Shirt (Loose fabric, not stiff cotton or any other tightly woven 'FAT' fabric)
2.) NO SEW TAPE (or you could try stitching it, but blaahhh too much work that sounds)
3.) Scissors, ruler, chalk.
DIY PROJECT - Its basically an open back cut out shirt,
Step 1.) Cut a straight line using a chalk and ruler and scissors parallel to your shoulder line or if you
have a seam.
Step 2.) Taking that line as a base, cut a semi circle across it.
Step 3.) Finish up by cleaning the edges, stick the hems together for a clean line using No Sew Tape
(I got mine from HyperCity)
Step 4.) And Viola, you are ready to rock a different summer style.
If you want to know how I style it, then do let me know!
Update - I will be out of India till Wednesday, but I will surely have few posts ready for you guys, so do check in!
I hope you guys enjoyed!
C'est fini
xoxo


